As I have just spent most of the past few weekends figuring out why #2 sons SR splutters and stops for no reason in the heat We have moved on to the fuel pump (having done plugs.leads,coilpack,fuel filter,ext) so I thought why not another how to :Reverend: this can also be used to spin your Fuel sock around to help prevent surging, (Note; this car was purchased new and has 170 ks on it, and all servicing has been by Ford or in house) This thread is just a guide to help others that may wish to try it for them selves, and is just how I did, it be it the rite or wrong way it worked for me.
First it is a good idea to have little or next to no fuel in the tank (although no essential ). Tools Needed will be Pointy nosed pliers, 7mm open end /ring spanner, 2 medium blade screwdrivers, 1 flat bar or screwdriver.
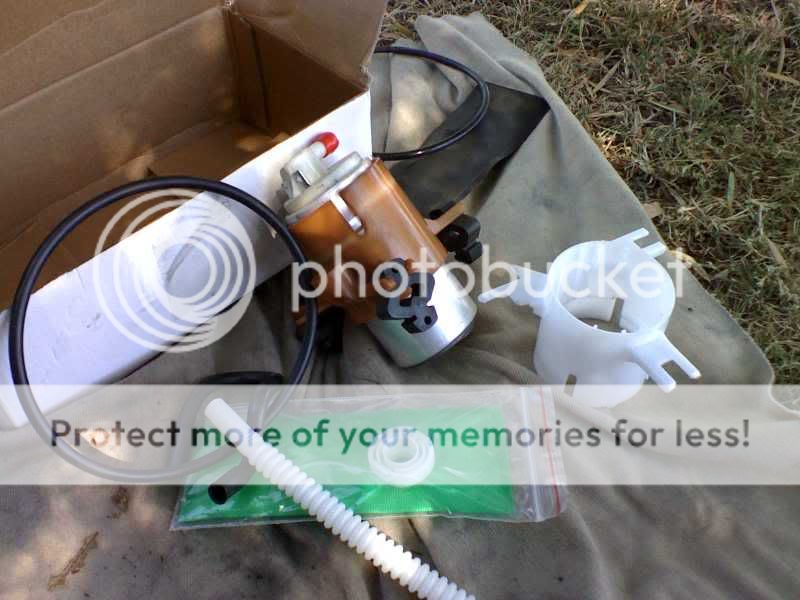
If replacement of the pump is needed I purchase mine of Ebay from a Deerpark supplier for $50 + postage took 4 days to deliver it Came complete with all fittings in kit form, and for what it's worth looks no different to the original
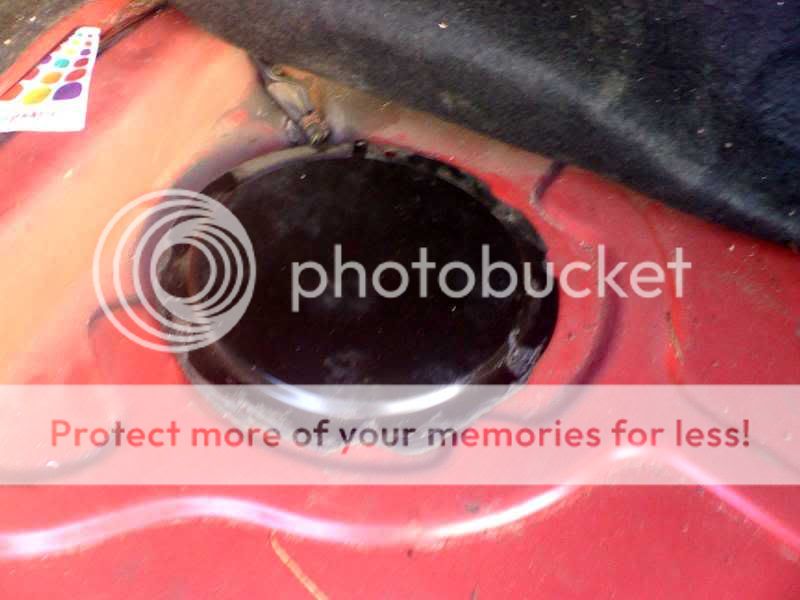
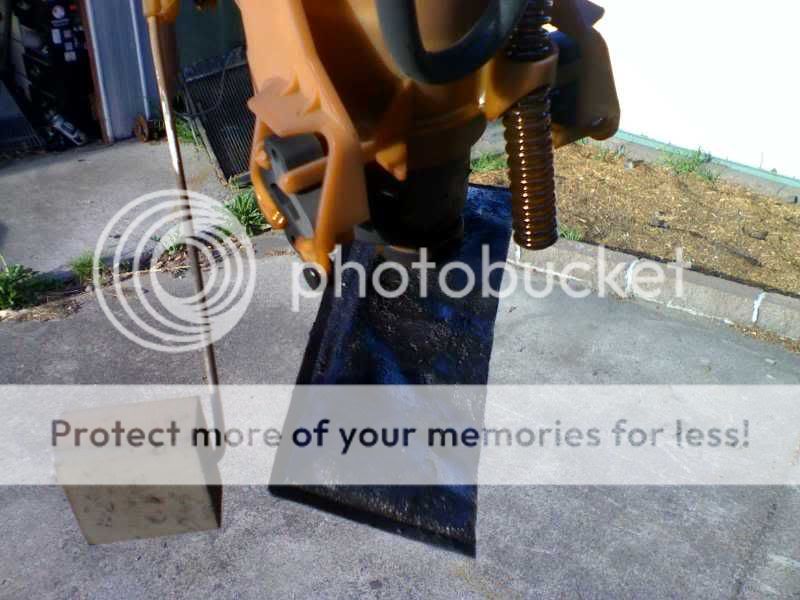
1. remove boot mat and on the left / passengers side floor is a flat round disk that covers the pump this is stuck to the floor with sicaflec type stuff and needs to be pryed off, (don't worry if it bends a bit you can easily tap it flat again with a hammer
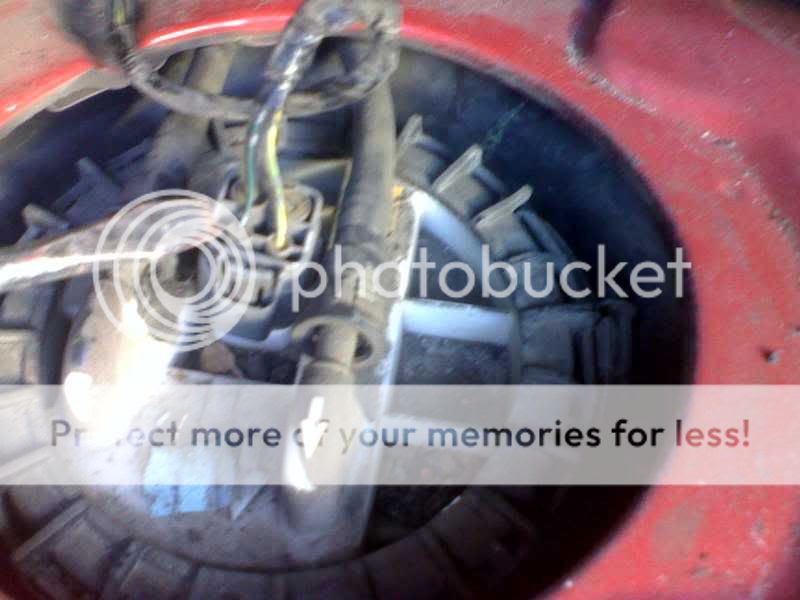
2.With the cover removed, unplug the wiring, at this stage I opened the fuel cap to release any pressure in side it. the fuel lines now need removing from the top of the tank this can be done by gently squeezing the clips at the side together a levering the inside with a small blade screw driver whist sliding back at the same time (easyer than it sounds really

: )
Note; some fuel may still be under pressure and a small amount my leak out so keep a few rags handy.
.
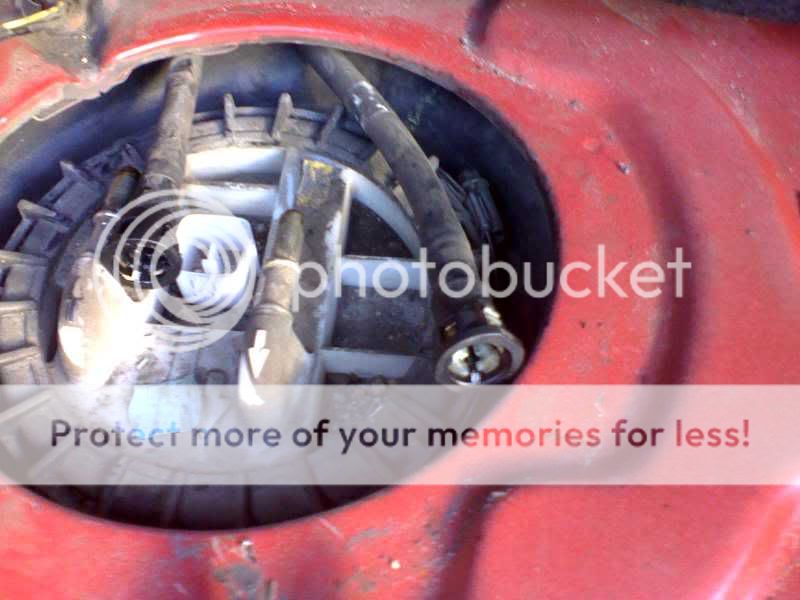
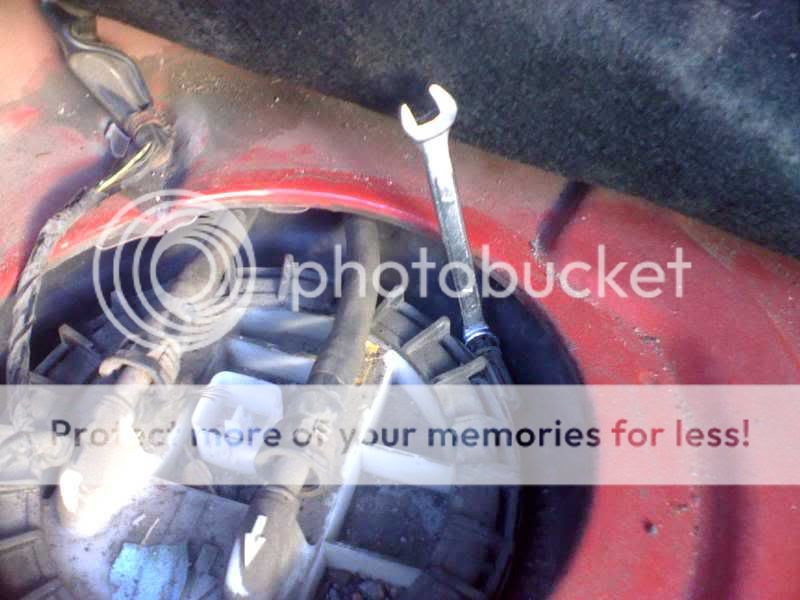
Now with the lines removed you should be able to see a 5" hose clamp securing the lid this is best removed with a 7mm ring spanner as a screw driver wont fit in the hole, unless you have a flexi drive
Now at this stage I vacuumed any loose dirt and gunk from around the cap to avoid it falling into the tank
Next part becomes a bit tricky as you have plastic screwed into plastic which tends to bind up ,it has been suggest that if you loosen the tank straps both sides about 1/3 of the way it will help to stop the distortion of the tank. as I only found this out later I haven't tried it out,Now if you don"t have the proper removal tool to unscrew the cap this is what I did. with the lines and hose clamp removed I levered around the outer edge of the cap with a large screwdriver against the body of the floor as you move it round the lid you can see the cap flex thus appearing to loosen and more gunk build up then re vacuumed the hole.
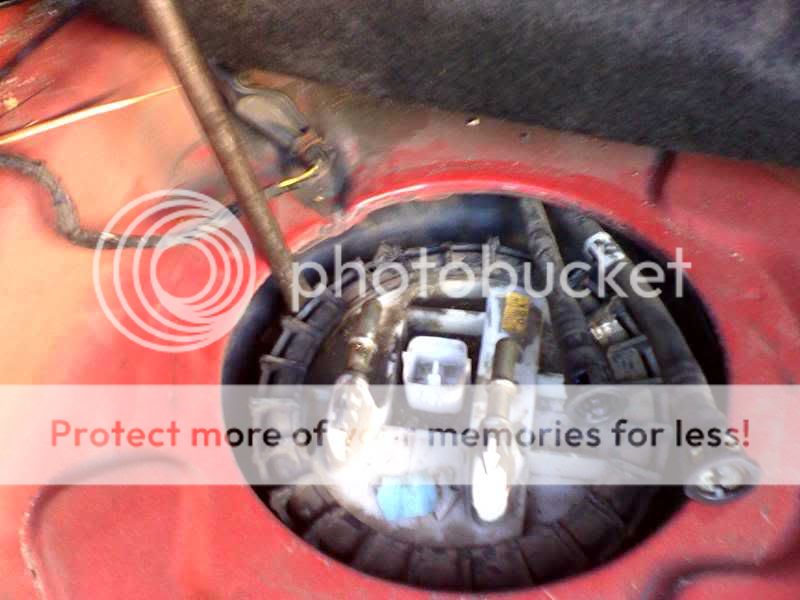
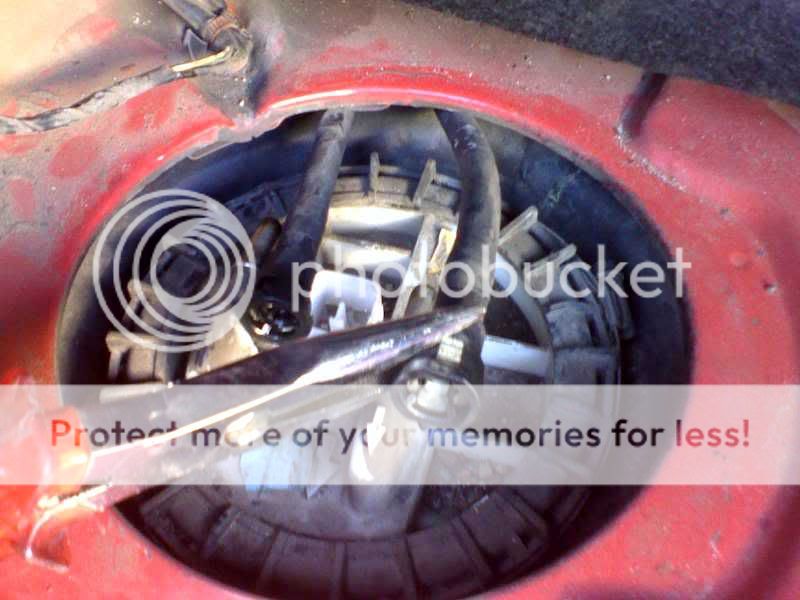
Next with one medium blade screwdriver on each side of the cap in the slots that can be seen in the lid , push then in so they sit fairly securely , then with a 3rd larger screw driver or flat bar as near to the base as practical twisted the cap anti clockwise ( to the passengers side for those with digital clocks :togo: )
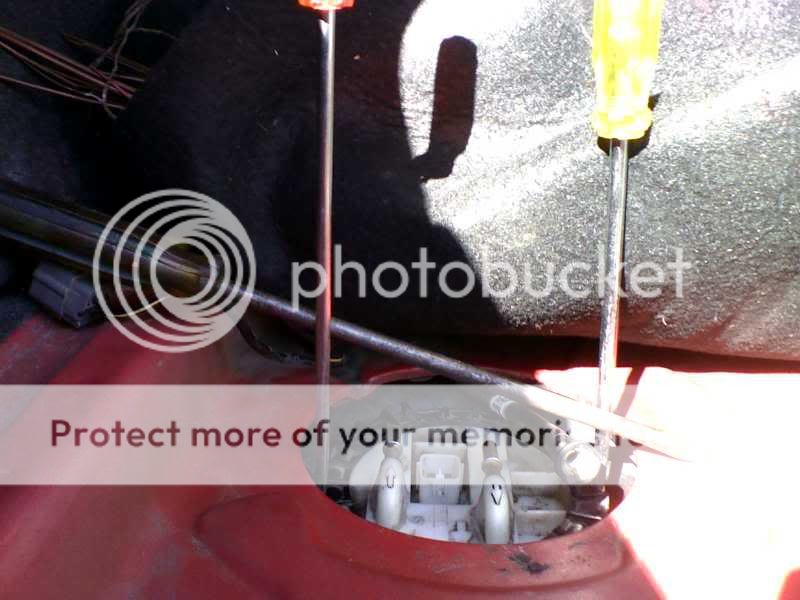
with the cap now removed the unit can be removed completely

Good idea to put the plate back over the hole while you mess with the pump to
My guess is it is not supposed to be coated with black sludge

:
The disassembly / reassembly of the pump and components is fairly straight forward as all the bits are there already, at this point time to check if your fuel sock is facing to the rear of the car (this how this S3 SR came out of the tank My S2 was facing forward ) the new pump sock only clipped in to the rear the OM could clip in either way
with the new pump fitted to the unit replacement is the reverse of the removal with just a few tips to help
1. a finger full of Vaseline jelly around the thread on the lid made it easyer to tighten
2. make sure the O ring is in position on the inside of the unit and sits flush
3. the complete unit sits flush when back in the correct position , you may need to turn it to the left or right slightly as the in and out pipe do not sit square to the front of the car. then just Silastic the cover back down an your done.
Once again this is just a guide on how I did it ,it may not be text book but it worked for me and I would think any one else with a basic mechanical knowledge
Cheers Whoosha